
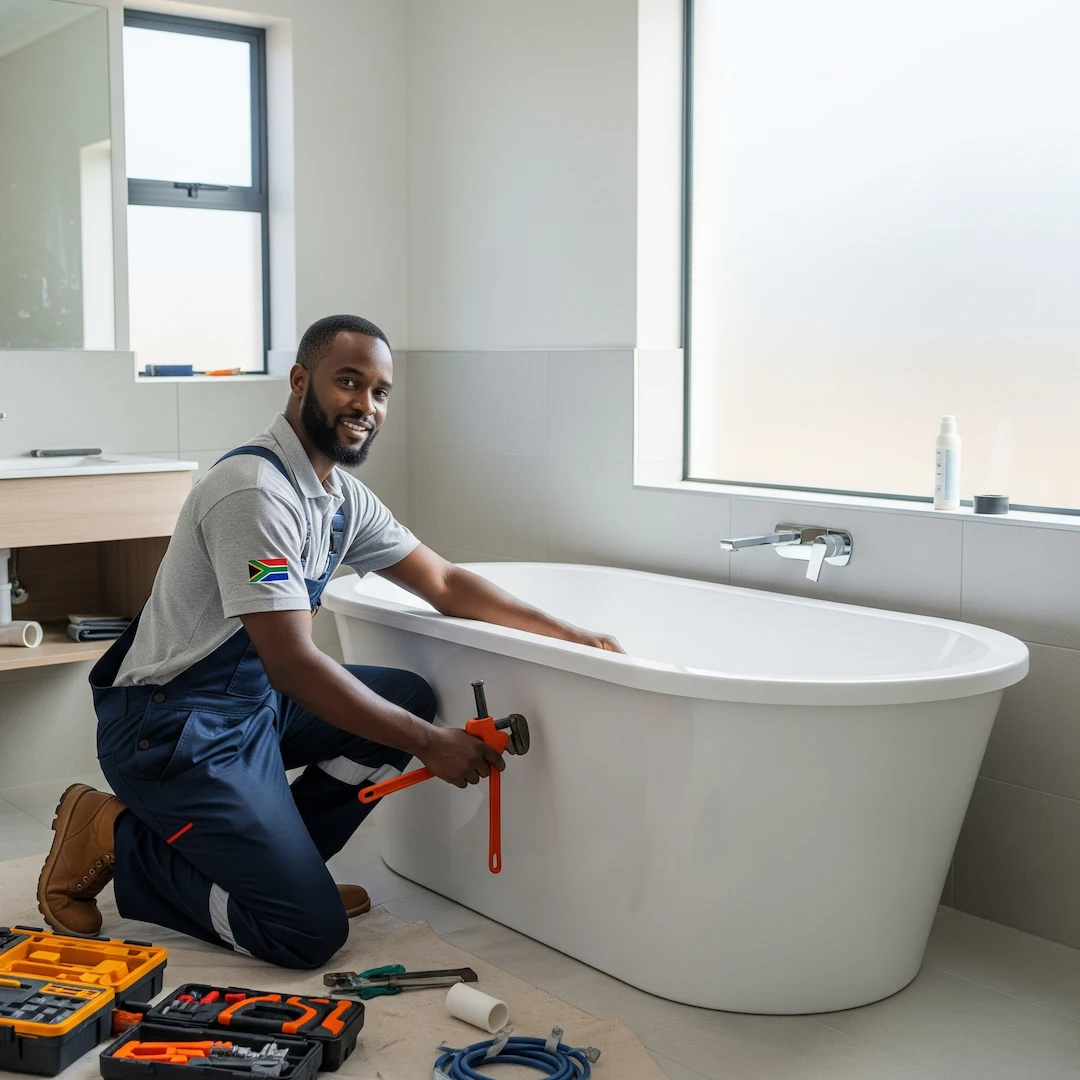
Bathtub Installation Done Right: Why Professional Plumbing Prevents Future Headaches in SA
Installing a bathtub in South Africa? Learn why professional plumbing ensures proper integration, prevents leaks, and protects your bathroom from costly future problems.

Bathtub Installation Done Right: Why Professional Plumbing Prevents Future Headaches in SA
So, you’ve chosen the perfect bathtub. You can already picture it: a centrepiece for your dream bathroom, ready for long, relaxing soaks. The final hurdle is getting it installed. While the temptation to save a few Rand by doing it yourself or hiring a general handyman can be strong, this is one area where cutting corners can lead to costly and stressful problems down the line.
A bathtub isn't just a large basin; it's a complex fixture that needs to be perfectly integrated with your home's plumbing and structure. A professional installation isn't just about connecting a few pipes—it's about ensuring the long-term safety, functionality, and integrity of your entire bathroom. Let's explore why getting it right from the start is the smartest investment you can make.
The Critical Details a Professional Plumber Won't Miss
Our network of expert plumbers has seen it all. From tubs that rock like a seesaw to mysterious water stains appearing on the ceiling below. These issues almost always stem from mistakes made during installation. Here are the three non-negotiable elements a professional focuses on to prevent those future headaches.
1. Perfect Levelling and Solid Support
A bathtub holds a significant amount of water—and you! A standard 1700mm built-in tub can hold around 150-200 litres of water, which weighs 150-200 kilograms, plus the weight of the person in it. All that weight needs to be perfectly distributed.
- The Problem with 'Almost Level': If a tub isn't perfectly level, water won't drain completely. You'll be left with pools of stagnant water that become a breeding ground for mould and soap scum. More importantly, an unlevel tub puts uneven stress on its frame and the floor beneath it. One of our plumbers in Johannesburg was called out to a newly renovated home where the acrylic tub made a loud creaking sound whenever someone stepped into it. The installer hadn't set it properly in its mortar bed. Over time, this slight movement would have inevitably caused stress fractures in the acrylic.
- A Professional's Approach: A qualified plumber ensures the subfloor is sound and level before anything else. They will often set the tub in a supportive bed of mortar or foam, creating a solid, custom-fit foundation that absorbs weight evenly and eliminates any chance of movement or creaking. This crucial step ensures the tub feels solid underfoot and prevents long-term structural strain.
2. Watertight Sealing: Your First Line of Defence
The seal around your bathtub is the only thing standing between the water inside your bathroom and the structural components of your home. A failed seal is one of the most common causes of hidden water damage.
- The Scenario: A homeowner in Pretoria noticed their laminate flooring starting to swell just outside the bathroom door. They assumed it was from water splashed out after the kids' bath time. A plumber investigated and found the real culprit: a tiny, almost invisible gap in the silicone sealant behind the tub's edge. For months, small amounts of water had been seeping into the wall cavity and under the floor, causing slow, silent destruction. The repair involved not just re-sealing the tub, but also replacing a section of the wall and the entire hallway floor.
- A Professional's Approach: Professionals know that proper sealing is a multi-step process. They use high-quality, mould-resistant silicone designed for bathrooms. They know how to prepare the surface for maximum adhesion and apply a clean, consistent bead. Crucially, many pros will fill the bathtub with water before applying the sealant. This slightly weighs the tub down and opens the gap to its maximum width, ensuring the sealant fills it completely. When the water is drained, the tub lifts slightly, compressing the silicone and creating a durable, watertight seal that can withstand years of use.
3. Flawless Drainage and Overflow Connections
The plumbing underneath your tub is the most complex part of the installation. The waste and overflow system is responsible for draining water away efficiently and preventing a disastrous flood if the taps are left running.
- The Risk of a Poor Connection: A cross-threaded pipe fitting or a poorly aligned drain can seem fine at first, but it's a ticking time bomb. A slow drip from the waste pipe can go unnoticed for years, steadily rotting the floorboards and joists below. We've heard from plumbers who have had to cut away entire sections of a client's floor because a slow leak turned the timber into a soft, spongy mess. An improperly installed overflow is just as dangerous—it might not work when you need it most, leading to a major flood that can damage multiple rooms.
- A Professional's Approach: A licensed plumber understands the precise angles and connections required for efficient drainage. They ensure every gasket is seated correctly and every connection is tightened to the right specification—not too loose to leak, and not so tight that it cracks the fitting. They also test the entire system thoroughly, checking the waste for leaks and verifying that the overflow can handle the full flow from the taps, giving you complete peace of mind.
Why a 'Small' Installation Mistake Becomes a Huge Problem
The risks of a poor bathtub installation go far beyond a wobbly fixture. The consequences are often hidden, expensive, and disruptive to fix.
- Hidden Water Damage: Slow leaks behind walls or under floors can lead to wood rot, crumbling plasterboard, and rusted metal components.
- Mould and Mildew: Trapped moisture creates the perfect environment for black mould, which can cause respiratory issues and persistent musty odours.
- Structural Instability: An improperly supported tub can damage the floor structure over time.
- Pest Infestations: Damp, rotting wood is an open invitation for termites and other destructive pests.
- Devalued Property: Obvious signs of water damage or a poorly installed bathroom fixture can significantly lower the value of your home and be a major red flag for potential buyers.
Ultimately, the cost of hiring a professional plumber to install your bathtub correctly from the outset is a fraction of the cost of rectifying water damage, mould, and structural issues later on. It’s not just an installation; it’s an insurance policy against future disasters.
Frequently Asked Questions
What are the signs of a poor bathtub installation?
Look out for a few key warning signs. The tub shouldn't move or creak when you step into it. Check the silicone seal around the edges—it should be a clean, unbroken line with no gaps or signs of mould. Water should drain quickly and completely, without leaving puddles. Finally, there should be no musty smells in the bathroom, as this can indicate a hidden leak.
How long should a professional bathtub installation take?
For a straightforward replacement where the plumbing is already in place, a professional plumber can typically complete the installation within 3 to 6 hours. However, if the job involves moving pipes, repairing the subfloor, or complex tiling work, it could easily extend to a full day or more.
What should I do to prepare for the plumber's arrival?
To help the installation go smoothly, ensure the bathroom is clear of all personal items, floor mats, and decorations. Create a clear path from the entrance of your home to the bathroom so the plumber can easily carry the new tub and their tools in and the old tub out without obstruction. If you have pets or small children, it's best to keep them in another part of the house for safety.
Can any plumber install any type of bathtub?
While most licensed plumbers are qualified to install standard built-in acrylic or steel tubs, some types require specialised knowledge. Freestanding tubs, for example, have exposed plumbing that requires a very precise and aesthetically pleasing finish. Similarly, spa or whirlpool tubs involve connecting electrical components, which may require the plumber to work alongside a qualified electrician to ensure everything is done safely and to code. It's always best to mention the specific type of tub you have when booking a professional.
Suzette Meyer is the lead author and content creator for Kandua.com, South Africa’s #1 marketplace for home services. Suzette has made it her mission to help homeowners with advice on all aspects of home repair, maintenance and improvement, including how to choose the right Pro and how to make smart upgrades that improve your resale value or save costs.

Latest articles, advice and more
.webp)
.webp)
.webp)
.webp)
.jpeg)
Sinking Pavers, Weeds and Water That Pools: What Your Driveway Is Telling You
When your driveway starts sprouting weeds, pooling water, or sinking in patches, the bricks are not failing you. The layers underneath have moved, and they are trying to tell you exactly what went wrong.
.webp)
.webp)
Beyond the Unboxing: A Detailed Guide to Correct Washing Machine Plumbing & Setup
New washing machine in South Africa? Learn essential plumbing and setup tips to prevent leaks, ensure efficient operation, and extend your appliance’s lifespan - expert advice before your first load.
.webp)
New Washing Machine? Don't Plug It In Yet! Essential Installation Tips for SA Homes
Installing a new washing machine? Learn the essential setup steps South African homeowners often overlook to prevent leaks, noise, and damage—and ensure efficient, long-lasting performance from day one.
.webp)
.webp)
%25201200%2520x%25201200%2520(1).jpeg)
What Retiling a Bathroom Costs in 2026, Room by Room
Retiling a bathroom in South Africa costs between R230 and R800 per square metre in 2026, including materials and labour. A standard family bathroom, stripped and fully retiled, usually lands between R11,800 and R27,500. A guest toilet costs a fraction of that. A large porcelain en-suite costs a lot more.
How to Install a Horizontal Geyser | Step-by-Step Pro Guide
Want to install a geyser like a pro? This step-by-step tutorial shows you exactly how to do a horizontal Ariston Axios geyser installation, straight from the BluLever plumbing workshop. 🎥 Hosted by MK, BluLever’s technical facilitator, and supported by a qualified electrician, Life and a BluLever graduate artisan, Zinhle. This is your ultimate guide to a SANS 10254-compliant installation — from preparing the wall, to plumbing, electrical wiring, and pro troubleshooting tips.
How to Maintain a Geyser | Step-by-Step Pro Guide
Want to maintain a geyser like a pro? This step-by-step tutorial shows you exactly how to do the three core geyser maintenance checks on an Ariston Axios geyser installation, straight from the BluLever plumbing workshop. 🎥 Hosted by MK, BluLever’s technical facilitator, and supported by a qualified electrician, Life. This is your ultimate guide to geyser maintenance — from diagnosing the problem to checking the heat regulation of the geyser, to pressure regulation and then finally corrosion protection.
%201.avif)
Not just another newsletter. It's an advantage